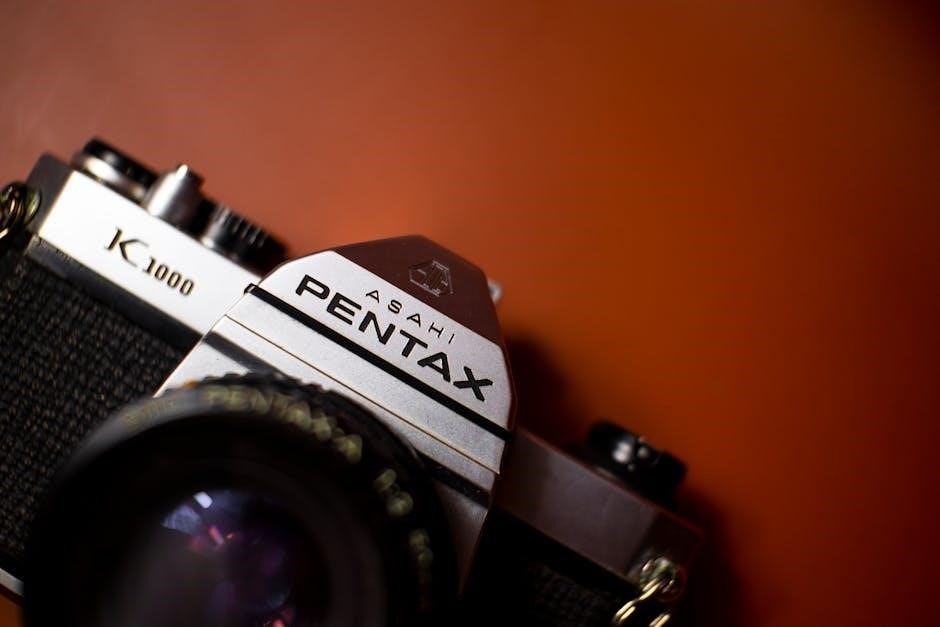
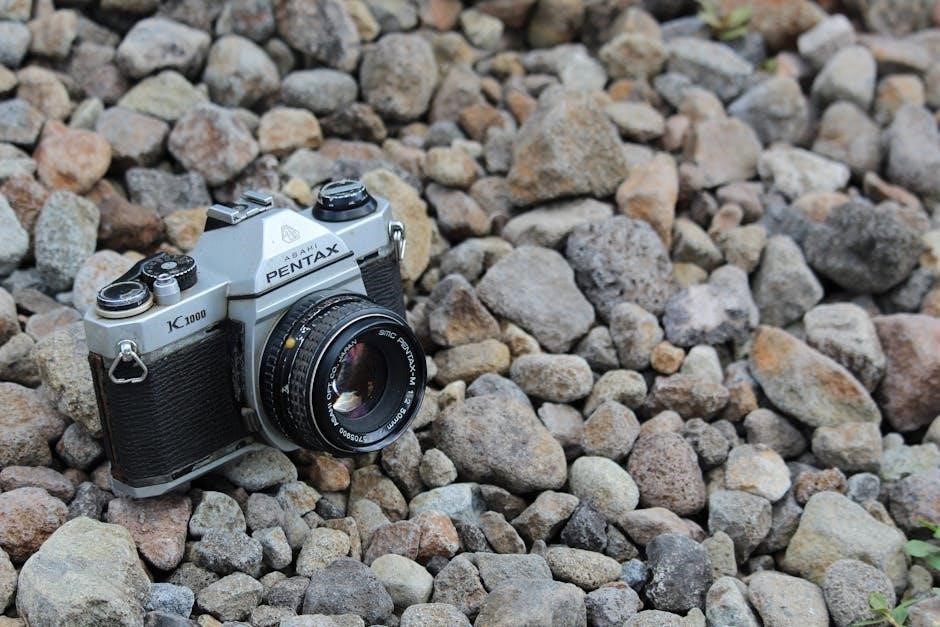
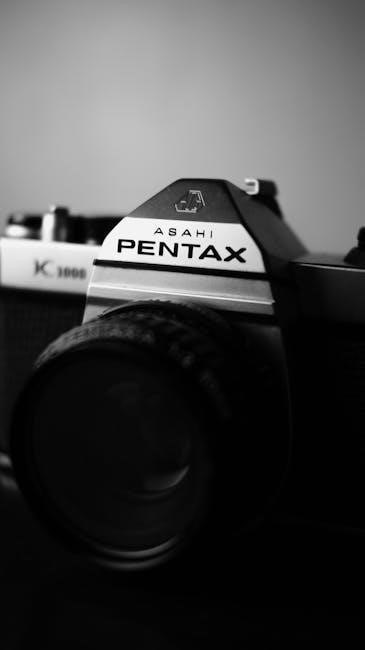
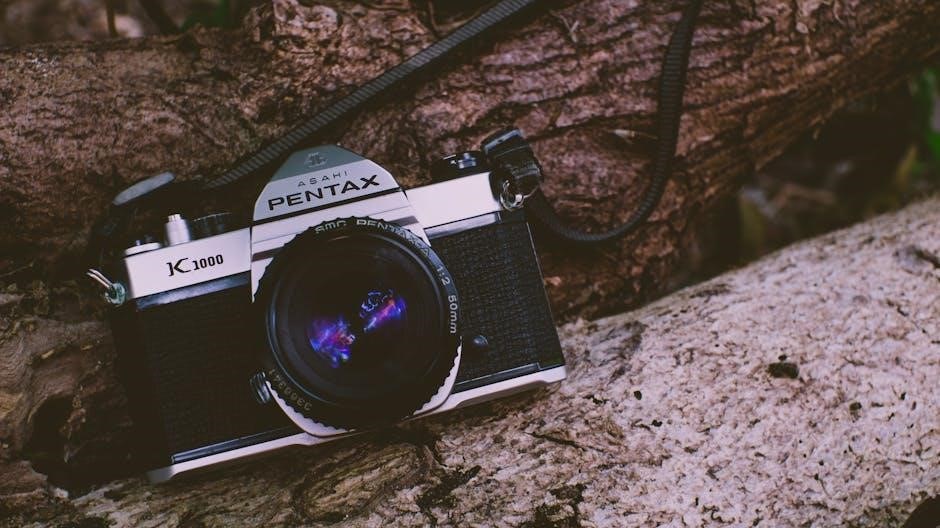
The Pentax K1000, introduced in 1976, is a durable and simple 35mm film camera, favored by students and enthusiasts alike.
Its fully mechanical operation and readily available user manual (often found as a PDF) contribute to its enduring appeal.
Despite rising prices due to popularity, it remains a classic, though alternatives like the Sears KS Auto offer similar features at lower costs.
Historical Overview & Significance
The Pentax K1000 debuted in 1976, quickly becoming a cornerstone for photography education. Its design prioritized simplicity and reliability, making it an ideal teaching tool.
Numerous photography courses adopted it, solidifying its place in photographic history. The availability of a comprehensive user manual, often accessible as a PDF, further aided its widespread adoption.
The camera’s fully mechanical nature meant minimal reliance on batteries, enhancing its durability. This longevity, coupled with its straightforward controls, cemented the K1000’s significance as a foundational camera for generations of photographers.
Why the K1000 Remains Popular
Despite its age, the Pentax K1000 retains a devoted following. Its enduring appeal stems from its simplicity, offering a direct connection to the photographic process. A readily available user manual, often found online as a PDF, simplifies learning.
The camera’s fully mechanical operation eliminates reliance on electronics, ensuring functionality even without batteries. While prices have increased due to demand, its robust build and ease of use continue to attract both beginners and experienced photographers seeking a tactile experience.

Understanding the Camera Body
The Pentax K1000’s body houses essential controls for manual operation, detailed in the user manual. Familiarizing yourself with its layout is key to mastering film photography.
Front View: Key Components
The Pentax K1000’s front panel, as illustrated in the user manual, features the SMC Pentax-A/-F lens mount, crucial for attaching compatible lenses. The lens release button allows for quick lens changes.
Below the lens mount is the self-timer indicator. The front of the camera body is relatively minimalist, emphasizing its focus on core photographic principles. The manual stresses the importance of using SMC Pentax or SMC Pentax-M lenses for optimal performance, though K-mount adaptations are possible.
Understanding these components, detailed within the PDF manual, is fundamental to operating the camera effectively.
Rear View: Controls and Indicators
The Pentax K1000’s rear panel, detailed in the user manual, houses essential controls. The film rewind knob and crank initiate film rewinding after exposure. The film door release latch allows access for loading and unloading film.
Notably, the camera lacks extensive electronic indicators, reinforcing its mechanical nature. The manual highlights the importance of the film counter, displaying the number of exposures taken. The viewfinder eyepiece provides a clear view for composing shots.
Referencing the PDF manual clarifies the function of each element, ensuring proper operation.
Top View: Shutter Speed & Film Advance
The Pentax K1000’s top plate, as illustrated in the user manual, features the shutter speed dial and film advance lever. The shutter speed dial, ranging from 1 to 1/1000th of a second, plus Bulb (B), controls exposure time. The manual emphasizes careful selection based on lighting conditions.
The film advance lever, after each shutter release, advances the film to the next frame. A frame counter displays the number of exposures; The PDF manual details proper winding technique.
These mechanical controls offer a direct, tactile shooting experience.
Bottom View: Battery Compartment & Tripod Mount
The Pentax K1000’s underside, as detailed in the user manual, houses the battery compartment and tripod mount. The camera requires a single PX28 battery to power the light meter. The manual stresses correct battery insertion for optimal meter function.
A standard 1/4-20 tripod mount allows secure attachment to a tripod, essential for sharp images in low light or for time-lapse photography. The PDF manual provides guidance on tripod selection and usage.
These features enhance stability and metering accuracy.
Loading and Unloading Film
The Pentax K1000 user manual details film loading, compatible film types, and rewinding procedures. Proper technique, as shown in the PDF, is crucial for successful shooting.
Film Type Compatibility
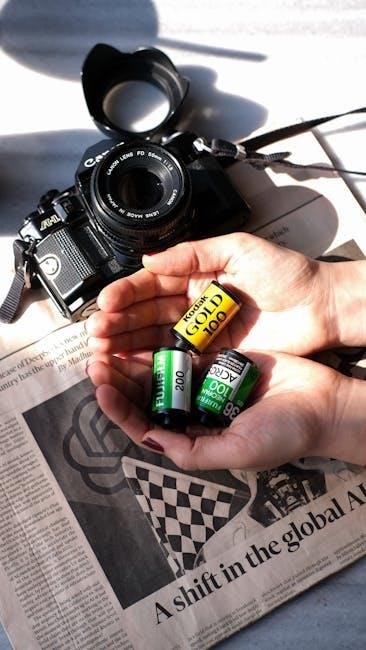
The Pentax K1000 user manual primarily indicates compatibility with standard 35mm film formats. This includes black and white negative film, color negative film, and color slide (transparency) film.
While designed for use with SMC Pentax lenses, the camera functions effectively with a wide range of 35mm film types readily available today. The manual doesn’t explicitly exclude specific ISO ranges, but optimal results are achieved with films within the commonly used sensitivities.
Users should consult the film’s packaging for specific exposure settings and processing instructions, as these are not detailed within the K1000’s documentation.
Step-by-Step Film Loading Guide
The Pentax K1000 user manual details a straightforward film loading process. First, open the camera back using the film release lever. Next, insert the film canister into the left side of the camera.
Pull the film leader across the camera and attach it to the take-up spool. Advance the film using the film advance lever, ensuring the sprocket holes engage properly.
Close the camera back and continue advancing the film until the frame counter reaches ‘1’. The manual emphasizes careful handling to avoid damaging the film or camera mechanism.
Rewinding the Film
The Pentax K1000 user manual explains film rewinding as a crucial step. After exposing all frames, press the film rewind button on the camera’s base.
Then, lift the rewind crank and turn it in the direction of the arrow. Maintain gentle, even pressure while rewinding, feeling for the film to detach from the take-up spool.
Continue rewinding until minimal resistance is felt, then open the camera back and remove the film canister. The manual cautions against forcing the crank, preventing potential damage.

Exposure Control: Mastering Manual Settings
The Pentax K1000 user manual emphasizes manual control of aperture and shutter speed for proper exposure.
Understanding their interplay, alongside the built-in light meter, is key to successful photography.
Aperture and its Effect on Depth of Field
The Pentax K1000 user manual details how the aperture setting directly influences depth of field – the area appearing sharp in your photograph. A wider aperture (smaller f-number like f/2.8) creates a shallow depth of field, ideal for isolating subjects with a blurred background.
Conversely, a narrower aperture (larger f-number like f/16) yields a greater depth of field, keeping more of the scene in focus. Mastering aperture control allows photographers to creatively manipulate focus and draw attention to specific elements within the frame, as explained within the manual’s guidance.
Shutter Speed and its Effect on Motion
The Pentax K1000 user manual explains shutter speed’s crucial role in capturing or freezing motion. Faster shutter speeds (like 1/500th of a second) halt action, perfect for sports or wildlife photography. Slower shutter speeds (like 1/30th of a second) blur movement, conveying a sense of speed or creating artistic motion trails.
Understanding this relationship is key to achieving desired effects. The manual emphasizes that slower speeds require a steady hand or tripod to avoid camera shake, ensuring sharp images despite the extended exposure time.
Using the Built-in Light Meter
The Pentax K1000 user manual details how to utilize its center-weighted light meter for accurate exposures. After setting the desired film speed (ISO), the meter displays a range of exposure settings via the needle in the viewfinder. Aligning the needle with the mark indicates correct exposure.
The manual stresses that the meter reads light reflected from the scene, potentially leading to inaccuracies with very bright or dark subjects. Understanding this limitation is crucial for achieving properly exposed photographs.
Focusing Techniques
The Pentax K1000 user manual guides users through manual focusing using the split-image focusing screen. Depth of field preview aids in visualizing sharpness at chosen apertures.
Understanding the Focusing Screen
The Pentax K1000’s focusing screen is crucial for achieving sharp images, as it’s a fully manual focus camera. Central to this is the split-image rangefinder. This feature presents a slightly offset image; when perfectly in focus, these two halves align.
Around the split-image is a microprism collar, offering a textured appearance when focus is slightly off, aiding in fine adjustments. The surrounding area displays the projected image for composition. Mastering this screen, as detailed in the user manual, is key to successful operation.
Remember, proper lighting is essential for clear visibility on the screen.
Manual Focusing Methods
The Pentax K1000 relies entirely on manual focusing, demanding practice and precision. Utilize the focusing ring on the lens, observing the split-image rangefinder on the focusing screen. Rotate the ring until the two halves of the split image merge into one clear image – this indicates sharp focus.
Alternatively, use the microprism collar; its texture will become smoother as you approach accurate focus. The user manual emphasizes slow, deliberate adjustments. Remember depth of field preview (stopping down the aperture) helps visualize the in-focus area.
Depth of Field Preview
The Pentax K1000 offers a depth of field preview lever, crucial for controlling focus range. Engaging this lever stops down the lens to the selected aperture, allowing you to visualize precisely what will be in focus. This is invaluable for landscapes or group portraits.
The user manual highlights its importance for ensuring critical sharpness where needed. Observe the focusing screen; areas appearing blurred when the lever is engaged will remain so in the final image. Releasing the lever returns to maximum aperture for brighter viewing.
Lenses and Compatibility
The Pentax K1000 primarily works with SMC Pentax-M lenses, but also accommodates SMC Pentax-A/-F lenses with slight operational differences, as detailed in the user manual.
SMC Pentax-A/-F Lens Usage
The Pentax K1000 is designed for optimal performance with SMC Pentax or SMC Pentax-M lenses; however, utilizing SMC Pentax-A or SMC Pentax-F (KA mount or KAF mount) lenses requires a nuanced approach. The user manual clarifies that these lenses necessitate slightly altered operation compared to the standard M-series.
Specifically, the aperture control functions differently. Understanding these distinctions, outlined within the camera’s documentation, ensures proper exposure and functionality when employing these advanced lens options. Refer to the manual for detailed instructions on adapting to these lens types for optimal photographic results.
K-Mount Lens Options
The Pentax K1000 utilizes the K-mount, offering a vast selection of compatible lenses. The user manual doesn’t extensively detail every K-mount lens, but emphasizes the suitability of SMC Pentax and SMC Pentax-M lenses for seamless operation.
Beyond these, numerous third-party K-mount lenses exist, expanding creative possibilities. While the manual primarily focuses on Pentax’s own offerings, resourceful photographers can explore these alternatives. Compatibility should be verified before purchase, ensuring proper fit and functionality with the K1000’s aperture and focusing mechanisms.
Adapting Lenses to the K1000
The Pentax K1000 user manual doesn’t directly address lens adaptation extensively, as it was designed for K-mount lenses. However, adapters exist to utilize lenses from other systems.
Adapting lenses requires careful consideration, as full functionality isn’t always guaranteed. Adapters may affect focusing accuracy or light metering. Researching specific adapter compatibility is crucial before purchase. While expanding lens choices, adaptations might compromise the K1000’s simplicity and fully mechanical nature, potentially requiring stop-down metering.
Using the Shutter Release
The Pentax K1000 user manual details a standard shutter release, alongside a self-timer function.
Cable releases are also compatible, offering enhanced stability for long exposures and minimizing camera shake.
Self-Timer Function
The Pentax K1000’s self-timer, as outlined in the user manual, allows for delayed shutter activation, ideal for self-portraits or situations requiring the photographer to be within the frame.
To activate, the self-timer lever is moved to the ‘B’ or ‘T’ position, then pushed fully upwards.
This initiates a roughly 10-second delay before the shutter releases.
The lever automatically returns to the ‘B’ or ‘T’ position after the shutter fires.
Remember to fully wind the film advance before engaging the self-timer to ensure proper operation.
Carefully compose your shot, activate the timer, and quickly position yourself!
Cable Release Compatibility
The Pentax K1000 is fully compatible with standard cable releases, enhancing stability and minimizing camera shake, particularly crucial for long exposures or macro photography.
The cable release screws into the threaded shutter button.
Using a cable release allows for smooth, vibration-free shutter actuation, resulting in sharper images.
The user manual doesn’t detail specific cable release models, but any standard thread will function correctly.
This is a simple yet effective accessory for improving image quality, especially in low-light conditions.
Consider a cable release a valuable addition to your K1000 kit.
Advanced Features & Settings
The Pentax K1000 offers multiple exposure capabilities and a depth of field lock, expanding creative control beyond basic operation.
Consult the user manual for detailed instructions.
Multiple Exposure Mode
The Pentax K1000 allows for creating multiple exposures on a single frame of film, offering unique artistic possibilities. To engage this mode, after taking your first photograph, do not advance the film. Press the shutter release again to expose another image onto the same frame.
Repeat this process as desired. Remember to disengage multiple exposure mode by fully advancing the film and re-cocking the shutter. The user manual provides a detailed walkthrough of this process, emphasizing the importance of careful metering for each exposure to avoid over or underexposure of the final image. Experimentation is key!
Depth of Field Lock
The Pentax K1000 features a depth of field lock, useful when recomposing your shot after focusing. After achieving focus on your subject, depress the depth-of-field preview lever. This stops down the lens to the selected aperture, allowing you to visually assess the depth of field.
While holding the lever, recompose your shot. The user manual clarifies that focus remains locked at the initial point. Releasing the lever returns the lens to its widest aperture. This feature aids in ensuring critical sharpness where you intend it, particularly with manual focusing.
Troubleshooting Common Issues
The Pentax K1000 user manual addresses potential problems like light meter malfunctions, shutter issues, and film advance difficulties.
Regular maintenance and careful handling can prevent many of these common occurrences.
Light Meter Malfunctions
The Pentax K1000 user manual details troubleshooting for a non-responsive light meter. First, ensure the battery compartment is correctly loaded with a fresh, appropriate battery.
If the meter still fails, check the battery contacts for corrosion and gently clean them.
Remember the K1000’s meter is coupled to the shutter speed dial; verify it’s not set to ‘B’ or a speed where metering is disabled.
A faulty meter doesn’t render the camera unusable, as external light meters or the “sunny 16” rule can be employed for accurate exposure.
Shutter Problems
The Pentax K1000 user manual addresses potential shutter issues. A slow or sticking shutter often indicates accumulated dust or dried lubricant. Do not attempt self-repair; professional servicing is recommended.
Ensure the film advance is fully completing its cycle, as incomplete winding can affect shutter operation.
If the shutter doesn’t fire, check the shutter speed dial is not set to ‘B’ and the camera is properly cocked.
A fully mechanical system means careful handling is crucial to prevent damage and maintain reliable function.
Film Advance Issues
The Pentax K1000 user manual details troubleshooting for film advance problems. A stiff or halting advance often signals resistance from the film spool or a mechanical issue within the advance mechanism.
Ensure the film is loaded correctly and not tightly wound on the take-up spool.
Check for any obstructions within the film chamber.
If the lever feels unusually difficult to move, avoid forcing it; professional servicing is advised to prevent further damage to the delicate internal components.
Maintenance and Care
The Pentax K1000 user manual recommends regular cleaning of the camera body and lenses. Proper storage protects this durable camera from dust and potential damage.
Cleaning the Camera Body
According to the Pentax K1000 user manual, maintaining a clean camera body is crucial for longevity. Use a soft, dry cloth to wipe away dust and fingerprints regularly. Avoid abrasive cleaners or solvents, as these can damage the finish.
For stubborn grime, lightly dampen the cloth with distilled water, ensuring no moisture enters the camera’s internal components. Pay attention to areas around buttons and dials, where dirt can accumulate. A gentle brush can help remove dust from crevices.
Regular cleaning prevents corrosion and ensures smooth operation of the mechanical parts, preserving the K1000’s reliability for years to come.
Lens Care
The Pentax K1000 user manual emphasizes careful lens maintenance. Dust and fingerprints on the lens significantly impact image quality. Use a blower to remove loose particles before gently wiping with a microfiber lens cloth.
Avoid excessive pressure or circular motions, which can cause scratches. For stubborn smudges, specialized lens cleaning fluid can be applied sparingly to the cloth, never directly onto the lens.
Proper lens care ensures optimal clarity and sharpness. Store lenses with caps on, in a dry environment, to prevent fungus growth and protect the delicate coatings.
Storage Recommendations
The Pentax K1000 user manual doesn’t detail extensive storage, but best practices apply. Store the camera body in a cool, dry place, away from direct sunlight and extreme temperatures. A camera bag offers excellent protection against dust and accidental impacts.
Remove batteries from the camera if it will be stored for an extended period to prevent corrosion. Keep lenses capped and stored separately in a protective case. Avoid damp environments, as moisture can damage internal components.
Proper storage preserves the K1000’s mechanical integrity and ensures it remains ready for use.
Resources and Further Learning
Pentax K1000 resources include free PDF manuals online and active communities/forums. Explore central-manuals.com for the original user manual and enthusiast support.
Online Manuals and Guides (PDF)
Numerous online resources offer the Pentax K1000 user manual in PDF format, providing accessible guidance for both beginners and experienced photographers. Websites like central-manuals.com host the original, complete manual, allowing for easy download and offline viewing.
These PDF guides detail every aspect of the camera, from basic operation and film loading to advanced features like multiple exposures. Beyond the official manual, supplemental guides and tutorials created by K1000 enthusiasts can further enhance understanding.
Accessing these digital resources eliminates the need for a physical copy and ensures you always have the information at your fingertips, aiding in mastering this classic camera.
Pentax K1000 Communities and Forums
Engaging with online Pentax K1000 communities and forums provides invaluable support for users seeking assistance with their cameras. These platforms serve as hubs for sharing knowledge, troubleshooting issues, and discussing techniques related to the user manual and camera operation.
Enthusiasts readily offer advice on everything from film choices to lens compatibility, supplementing the information found in the PDF manual.
These forums foster a collaborative learning environment, allowing users to connect with fellow photographers and deepen their understanding of this iconic camera.