Discover comprehensive guides for crafting beautiful jewelry boxes with detailed PDF plans. Perfect for all skill levels, these plans offer customization options and make great gifts.
Overview of Jewelry Box Plans
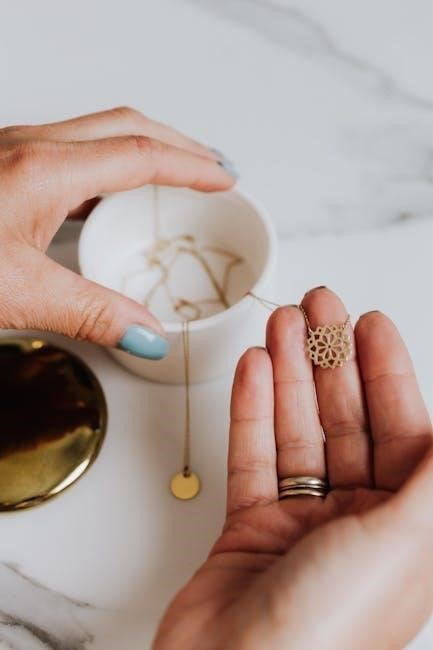
Jewelry box plans are versatile and detailed guides for creating stunning storage solutions. Suitable for all skill levels, these plans include step-by-step instructions, material lists, and diagrams. They cater to various styles, from classic to modern designs, and offer customization options. Whether you’re a beginner or an experienced woodworker, these plans provide everything needed to craft a functional and elegant jewelry box, perfect for personal use or as a thoughtful gift.
Why Create a DIY Jewelry Box?
Creating a DIY jewelry box allows for personalization, ensuring it matches your style and needs. It offers a meaningful way to organize your accessories while adding a unique, handmade touch to your space. DIY projects also make thoughtful gifts, showing effort and care. Crafting your own jewelry box is a rewarding experience that combines creativity with practicality, making it a standout piece for personal use or as a special present.
Benefits of Using PDF Plans
PDF plans provide clear, detailed instructions with material lists, diagrams, and photos, ensuring projects are easy to follow. They cater to all skill levels, from beginners to experienced craftsmen, offering step-by-step guidance. PDFs are convenient, printable, and accessible anytime, making them ideal for planning and execution. They also save time by organizing information neatly, reducing errors and enhancing the DIY experience.
Materials and Tools Required
Gather essential materials like wood, hinges, and felt, along with tools such as sandpaper, saws, and routers, to craft a durable and elegant jewelry box.
Woodworking Materials for Jewelry Boxes
Woodworking materials for jewelry boxes include high-quality woods like wenge, white oak, or poplar for durability and aesthetic appeal. These hardwoods offer a sturdy base and attractive grain patterns. Additionally, materials such as felt for lining, brass components for hinges, and wood glue are essential for assembly and finishing. Proper selection ensures a sturdy and visually appealing jewelry box that protects valuables.
Alternative Materials for Unique Designs
Explore unique materials beyond wood, such as cardboard, fabric, or even repurposed items like walnut shells. These alternatives offer creative possibilities for eco-friendly or budget-conscious projects. For instance, decoupage techniques can transform ordinary materials into visually striking designs. Fabric-lined boxes add a soft, luxurious touch, while unconventional materials like metal or recycled plastics provide a modern twist. These options allow for personalized and one-of-a-kind jewelry box creations.
Essential Tools for Building a Jewelry Box
Essential tools include a saw, sandpaper, drill, screwdriver, and measuring tape for precise cuts and assembly. A belt sander and palm router can help refine edges and surfaces. For more intricate designs, consider a jigsaw or CNC router. Basic hand tools like chisels and clamps are also vital for stability during construction. These tools ensure a professional finish and proper functionality for your jewelry box.
Design Options for Jewelry Boxes
Explore various jewelry box designs, from classic to modern, dresser-style to travel-sized. Choose materials like wood, metal, or fabric, and customize to fit your style and needs perfectly.
Classic and Modern Designs
From timeless elegance to sleek minimalism, jewelry box plans offer a blend of classic and modern designs. Choose traditional wood styles with intricate details or opt for contemporary materials like metal or fabric. Customize sizes, shapes, and finishes to match your personal aesthetic. These versatile designs cater to all preferences, ensuring your jewelry box is both functional and visually stunning, perfect for gifts or personal use.
Dresser-Style Jewelry Box Plans
Dresser-style jewelry box plans offer a spacious and elegant way to organize your accessories. Featuring multiple drawers with felt-lined bottoms, these designs ensure smooth gliding and protection for delicate items. Perfect for large collections, they often include adjustable dividers and customizable compartments. Built using standard board sizes, these plans are ideal for woodworking enthusiasts and make beautiful gifts or personal storage solutions.
Travel-Sized Jewelry Box Designs
Travel-sized jewelry box designs are perfect for protecting your accessories on the go. Compact and portable, these plans often use materials like fabric, cardboard, or small wooden boxes. They feature clever compartments and dividers to keep items organized and untangled. Ideal for trips, these designs emphasize durability and convenience, ensuring your jewelry stays safe and stylish wherever you travel.
Step-by-Step Construction Guide
Learn to build a jewelry box with detailed PDF guides, offering clear instructions for cutting, assembling, and finishing. Perfect for beginners and experienced crafters alike.
Cutting and Assembling the Box
Cutting and assembling the jewelry box requires precise measurements and careful execution. Start by measuring and cutting the wood according to the PDF plan’s specifications. Use a table saw or hand saw for accurate cuts, ensuring smooth edges by sanding afterward. Assemble the box panels using wood glue, clamping them firmly to align properly. Allow the glue to dry completely before attaching the back and bottom panels. This step ensures a sturdy base for your jewelry box design.
Adding Drawers and Compartments
Adding drawers and compartments enhances functionality and organization in your jewelry box. Use precise measurements to cut drawer components, ensuring smooth operation. Install drawer slides for effortless gliding and add felt linings for protection. Incorporate adjustable dividers to customize storage spaces. This step allows tailored organization, keeping jewelry tidy and preventing damage. Proper alignment and fitting are crucial for seamless functionality.
Installing Hinges and Latches
Installing hinges and latches is crucial for functionality and security. Use small hinges and hasps for a sturdy closure. Mark hinge locations on the lid and box, ensuring proper alignment. Attach hinges with screws and install latches securely. Test the mechanism to ensure smooth operation. This step ensures durability and easy access to your jewelry while keeping it safe. Follow safety guidelines when handling tools.
Finishing Touches
Add the final details to your jewelry box with staining, painting, or varnishing. Include felt or velvet linings for a luxurious feel and protect your jewelry from scratches. Personalize with engravings or decals for a unique touch. These steps enhance both functionality and aesthetics, making your DIY project truly special and professional-looking. Ensure all finishes are evenly applied for a polished look.
Staining and Painting Techniques
Enhance your jewelry box with staining or painting for a personalized look. Use high-quality wood stains to bring out grain patterns or opt for paint for a vibrant finish. Apply thin, even coats, allowing each layer to dry before proceeding. Consider sanding lightly between coats for a smooth surface. Test colors on scrap wood first to ensure the desired result. A clear varnish finish protects the design and adds durability. These techniques transform the box into a polished, professional-looking piece.
Adding Felt or Velvet Lining
Add a luxurious touch to your jewelry box with felt or velvet lining. Cut the material to fit the box’s interior, ensuring smooth surfaces for jewelry. Secure it with adhesive or double-sided tape. This lining protects delicate items from scratches and adds a professional finish. Choose neutral or matching colors to complement the box’s design, creating a soft, elegant space for storing treasured accessories.
Personalizing with Engravings or Decals
Add a unique and personal touch to your jewelry box with engravings or decals. Use a rotary tool or stencil for engravings, or apply custom decals for a decorative finish. Engravings can include names, dates, or meaningful symbols, while decals offer a wide range of designs. This step allows you to create a one-of-a-kind piece, making it perfect for gifts or personal use. It’s an easy way to add lasting value and charm to your DIY project.

Customization Tips
Elevate your jewelry box with personal touches. Add compartments, dividers, or trays to organize specific jewelry types. Personalize exteriors with engravings, decals, or unique finishes for a bespoke look.
Creating Compartments for Specific Jewelry
Design compartments tailored to your jewelry collection. Add dividers for rings, trays for earrings, and sections for necklaces to keep pieces organized and protected. Use felt linings for soft storage and ensure each compartment fits specific jewelry types, enhancing accessibility and functionality while maintaining a clutter-free interior.
Adding Dividers and Trays
Enhance your jewelry box with customizable dividers and trays for organized storage. Use adjustable partitions to separate rings, earrings, and necklaces, ensuring each piece is protected. Trays can be designed for specific jewelry types, while felt linings add a soft touch. This feature allows for maximum customization, making the box functional and tailored to your collection’s needs.
Personalizing the Exterior Design
Elevate your jewelry box with a personalized exterior design. Engravings, decals, or unique finishes can add a meaningful touch, reflecting your style or commemorating special occasions. Consider adding a monogram, pattern, or decorative hardware for a bespoke look. Lighting, such as LED accents, can also enhance the design, making it both functional and visually stunning. Personalization turns a simple box into a cherished keepsake or gift.
Advanced Techniques
Elevate your jewelry box craftsmanship with advanced techniques like CNC routing for intricate designs, incorporating lighting, or applying complex joinery methods for a professional finish.
Using CNC Routers for Complex Designs
CNC routers enable precise cutting and intricate designs for jewelry boxes. Walnut, aluminum inlays, and 3D patterns can be achieved with CAM tool paths, offering a professional, unique finish. Perfect for experienced woodworkers, CNC technology allows for complex geometries and custom detailing, making your jewelry box truly standout with precision and artistic flair.
Incorporating Lighting or Music
Add an extra layer of sophistication by integrating lighting or music into your jewelry box. LED lights can illuminate the interior, highlighting your treasures, while a small music module plays a melody when the box opens. These features create a sensory experience, making the box more special and personal. Perfect for adding a touch of elegance and charm to your DIY project.
Advanced Joinery Methods
Elevate your jewelry box craftsmanship with advanced joinery techniques like dovetailing or mortise and tenon. These methods enhance durability and create a polished, professional finish. Perfect for intricate designs, they ensure a secure and long-lasting structure. Detailed PDF plans guide you through complex joints, helping you achieve precise alignments and a flawless final product for a truly superior jewelry box.
Safety Tips and Best Practices
Always wear protective gear and ensure proper ventilation when working with wood and finishes. Follow safety guidelines for power tools and maintain sharp blades to prevent accidents.
Handling Power Tools Safely
Always wear safety glasses and a dust mask when operating power tools to protect against debris and dust. Ensure loose clothing and long hair are tied back to avoid accidents. Keep tools sharp and well-maintained to prevent kickbacks and ensure proper operation. Follow the manufacturer’s guidelines for each tool and maintain a clean, well-lit workspace. Never leave running tools unattended and store them securely after use.
Working with Wood and Finishes
Properly sand wood surfaces before staining or applying finishes to ensure smooth results. Use high-quality stains, sealants, or paints suitable for your chosen wood type. Always work in a well-ventilated area and wear gloves to avoid chemical exposure. Allow finishes to dry completely between coats for a professional look. Test finishes on scrap wood first to ensure color consistency and desired results.
Avoiding Common Mistakes
Ensure accurate measurements and proper alignment of components like drawers and lids. Test finishes on scrap wood first to avoid color inconsistencies. Double-check fits before final assembly to prevent gaps or misalignments. Avoid rushing the drying process for stains or glues, as this can lead to uneven results. Plan carefully to minimize waste and ensure all parts fit seamlessly together.
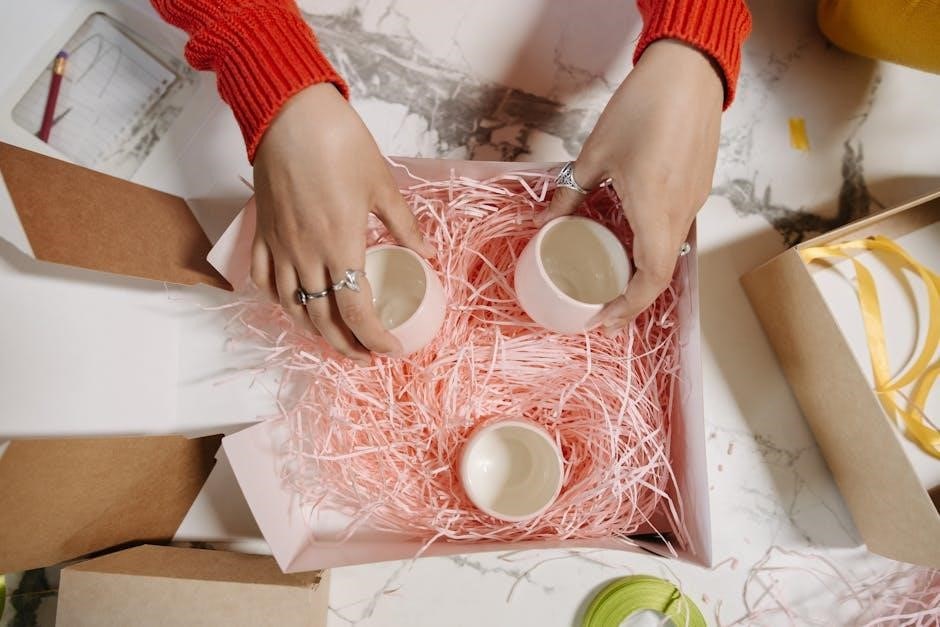
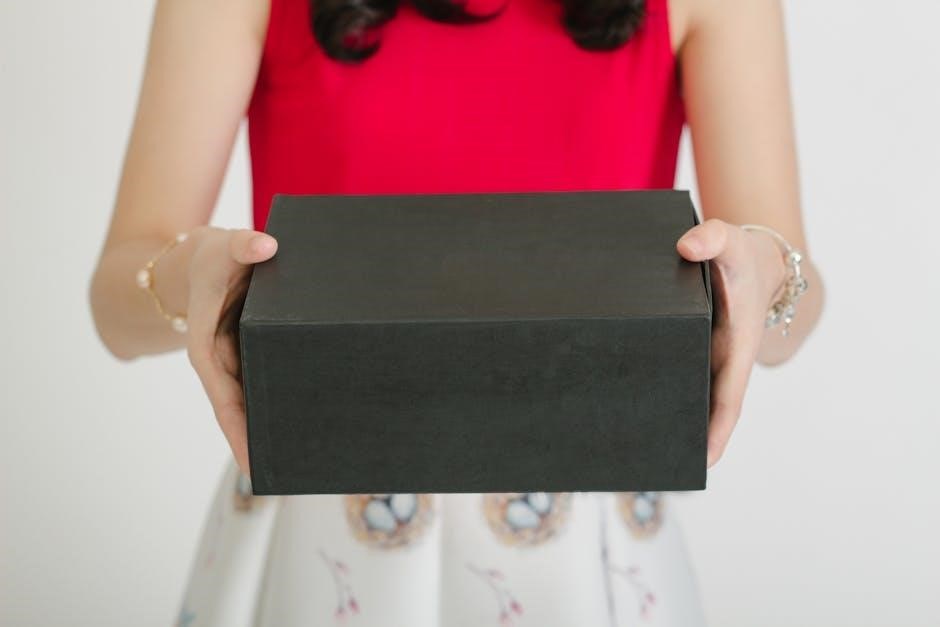
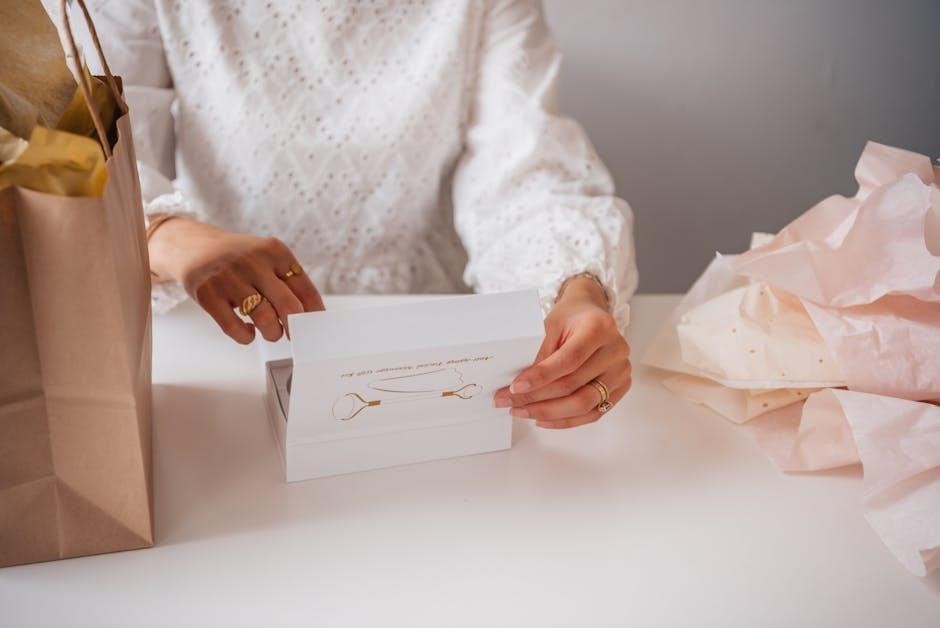
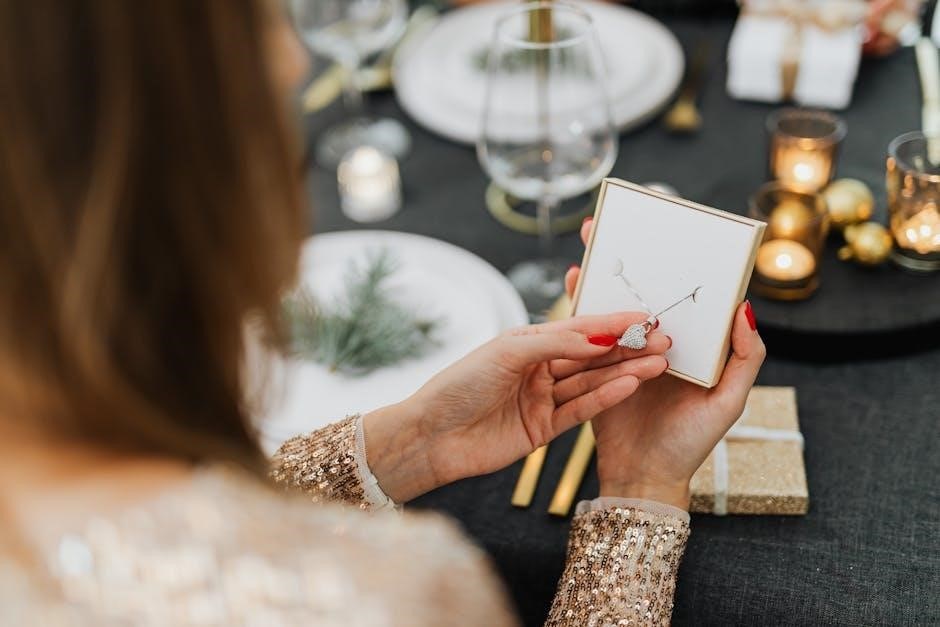
Gifting and Presentation Ideas
Transform your DIY jewelry box into a heartfelt gift by adding a personal touch. Use elegant packaging, ribbons, or engravings to make it extra special and meaningful.
Creating a Gift-Worthy Jewelry Box
Transform your handmade jewelry box into a thoughtful gift by adding personal touches. Use velvet or felt linings, engravings, or decals to enhance its appeal. Consider adding a ribbon or gift box for presentation. Customize the design to match the recipient’s style, ensuring it reflects their personality. A well-crafted, personalized jewelry box makes a meaningful and memorable gift for any occasion.
Adding a Personal Touch
Elevate your jewelry box by adding a personal touch. Engrave names, dates, or meaningful symbols for sentimental value. Use decoupage to add personalized patterns or photos. Incorporate unique materials like fabric or natural elements for a distinctive look. These touches reflect your creativity and make the box truly special, turning it into a heartfelt gift that resonates with the recipient’s personality and your thoughtful effort.
Presentation Ideas for DIY Jewelry Boxes
Presentation is key to making your DIY jewelry box special. Wrap it in decorative paper or fabric, or add a personalized note. Include a small memento or photo inside for a personal touch. Use ribbons or bows for a polished look. Consider adding a gift box or bag to enhance the presentation. These ideas make your handmade jewelry box a memorable and heartfelt gift, showcasing your creativity and effort.

Budget-Friendly Options
Explore cost-effective ways to create stunning jewelry boxes using recycled materials and sustainable wood options. DIY projects offer eco-friendly and budget-conscious alternatives for unique, personalized designs.
Using Recycled Materials
Transform old cardboard, fabric scraps, or repurposed wood into unique jewelry boxes. Decoupage techniques can add decorative flair. This eco-friendly approach reduces waste and creates budget-friendly, personalized storage solutions while showcasing creativity and sustainability.
Cost-Effective Wood Choices
Opt for affordable wood options like pine, birch, or poplar for your jewelry box. These woods are lightweight, easy to work with, and can be stained to match any design. While more expensive woods like oak or maple offer durability, budget-friendly alternatives provide a cost-effective way to create a beautiful, functional jewelry box without compromising on quality or aesthetics.
DIY vs. Pre-Made Jewelry Boxes
Choosing between DIY and pre-made jewelry boxes depends on your preferences and skills. DIY offers customization, cost savings, and a personal touch, while pre-made boxes provide convenience and professional quality. DIY is ideal for those who enjoy woodworking and want unique designs, whereas pre-made options are perfect for quick solutions without the need for tools or time investment.
Creating a jewelry box is a rewarding project that combines creativity and practicality. With detailed PDF plans, you can craft a personalized storage solution that treasures your accessories and adds elegance to your space.
Final Thoughts on Building a Jewelry Box
Building a jewelry box is a rewarding DIY project that combines creativity with practicality. It allows you to craft a personalized storage solution that safeguards your treasures while adding elegance to your space. Whether for personal use or as a thoughtful gift, a handmade jewelry box reflects care and attention to detail. Take pride in your craftsmanship and enjoy the satisfaction of creating something truly special.
Encouragement to Start Your Project
Embark on your DIY jewelry box journey with confidence! Whether you’re a beginner or an experienced crafter, these plans offer a fun and rewarding experience. Customize your design to reflect your style, and enjoy the satisfaction of creating something truly unique. Start today and craft a beautiful, functional piece that will be treasured for years to come. Your creativity awaits!